
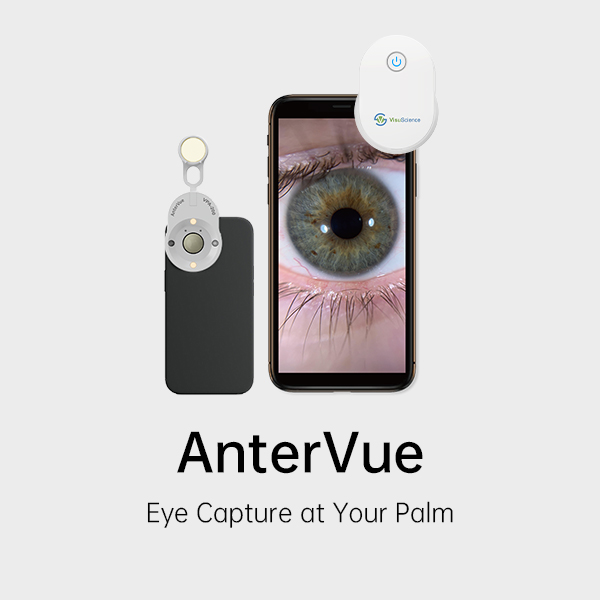
Clinical images are useful when you can find them, explain them, and review them at the next visit. AnterVue supports anterior segment and ocular surface image capture. VisuDoc helps organize those images for patient education and follow-up.
What you'll learn: A simple workflow to capture, organize, explain, and compare patient images.
AnterVue can capture images for documenting visible eyelid and corneal findings, including:
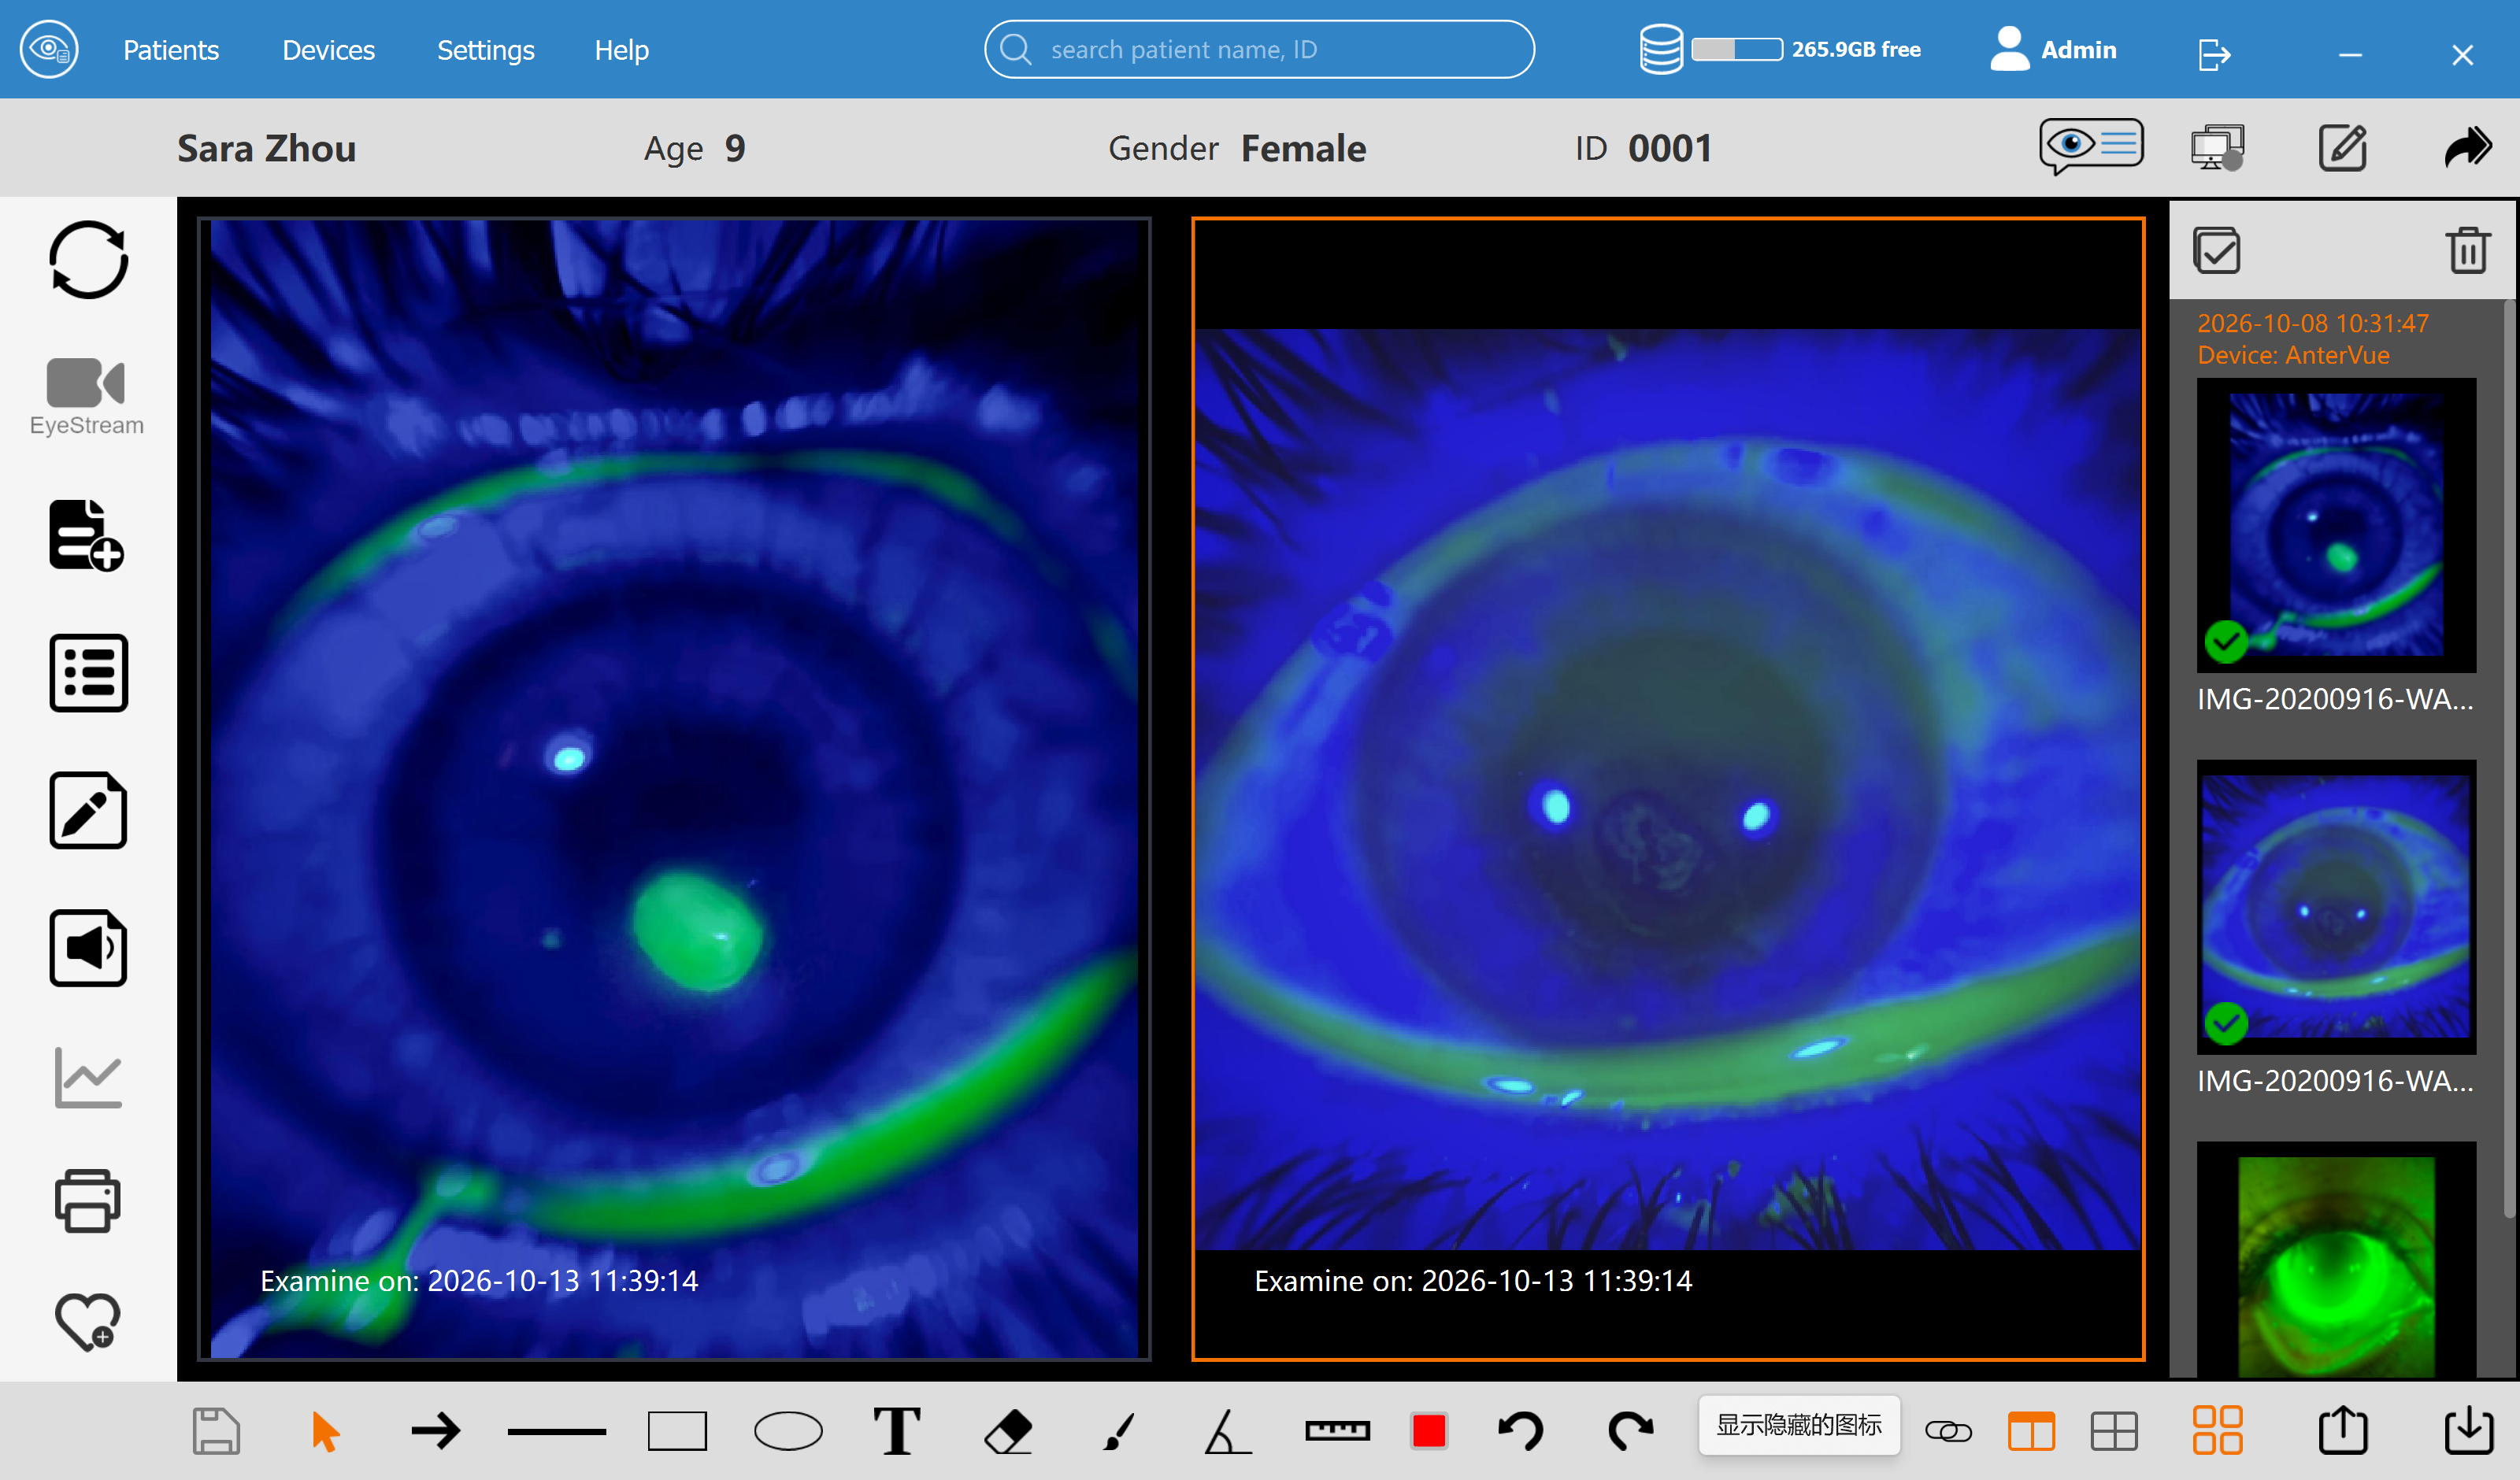
It also supports fluorescein imaging for Ortho-K lens fitting, a fitting assessment rather than a lesion type.
Choose the area you need to document and check image clarity. For follow-up, aim for similar views, lighting, and magnification. Images record appearance; diagnosis remains based on the clinician's examination.
Use VisuDoc to organize the images and review previous examinations. Confirm the patient, eye, and visit date before using an image in a consultation.
Keep the clinical context in your usual records. A photograph shows appearance; your documentation explains why the finding matters.
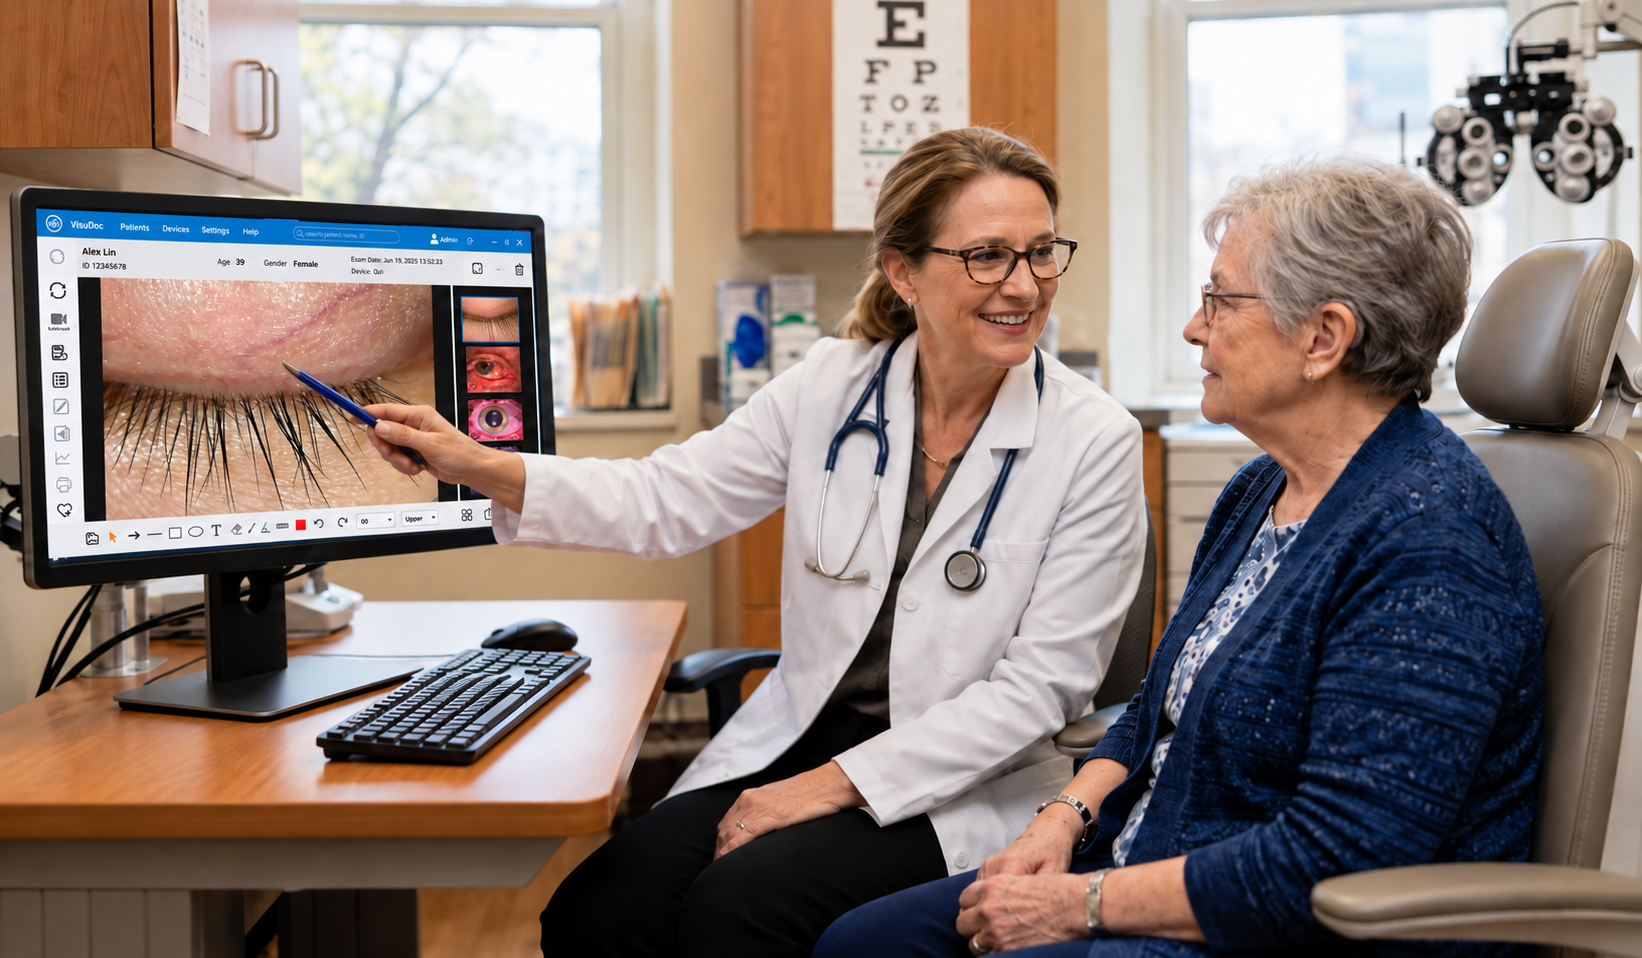
Choose an image that supports the conversation. Point out the area of interest, describe what is visible in familiar language, and connect it to your recommendations.
For example, an eyelid image can give the patient a visual reference while you explain the finding and the reason for follow-up. Invite questions before moving on.
VisuDoc also supports patient reports that can be printed or shared. Review the selected images and assessment before providing the report.
At follow-up, review earlier and current images in VisuDoc alongside the patient's symptoms and current examination.
Check whether the views are comparable. Differences in lighting or angle can affect appearance, so image changes alone do not establish treatment effectiveness. The clinician provides the interpretation.
Start with one documentation task and use the same routine across visits: capture a clear view, organize it, explain it, and review it in context.
Explore VisuDoc for AnterVue. VisuDoc is licensed separately from AnterVue, with a one-month free trial. Review the current features and trial information, or contact info@visuscience.com for setup support.
Download VisuDoc


